
DIY versus installed
Common DIY problems, and what we do instead
Typical DIY pain
- A hole drilled through the tile
- Router in a closed cabinet that cooks in summer
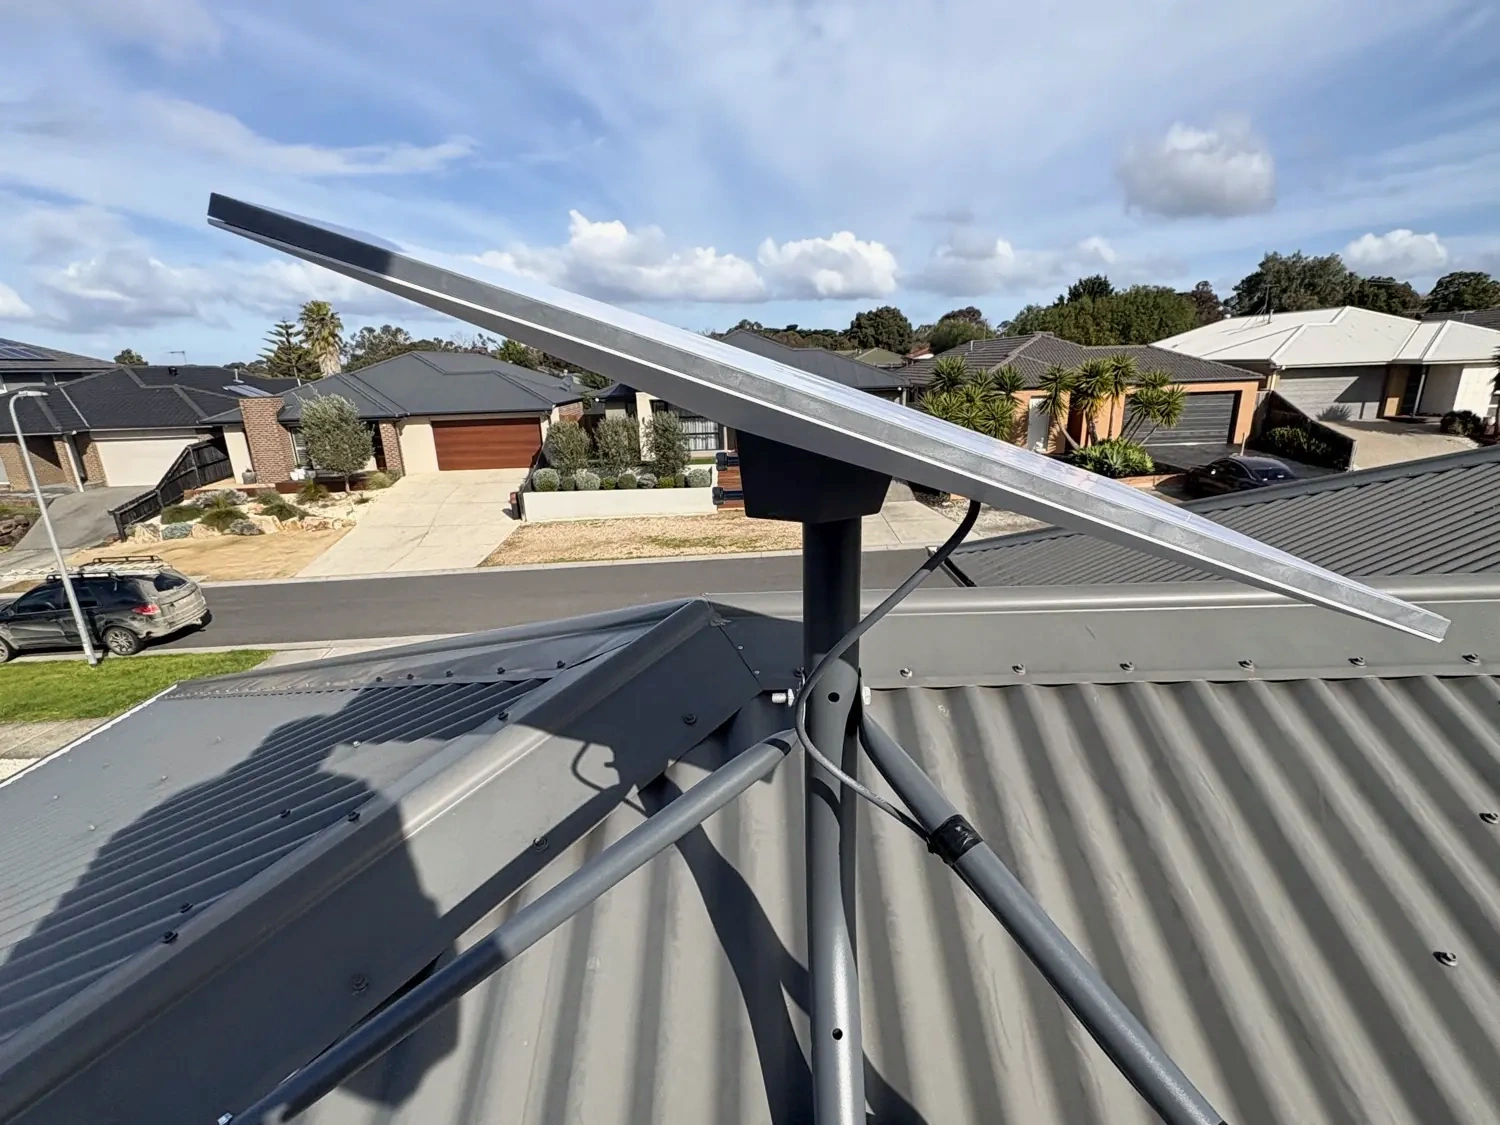
- Cable flapping on Colorbond
- Tripod sitting on tiles with no ballast plan
What we actually do
- The right mount for the roof: under-tile mount on tile, tripod on Colorbond
- One neat cable entry and a tidy cable route
- Router on the backing wall, near power
- A walk-through so you know how to switch it off safely
What was on site
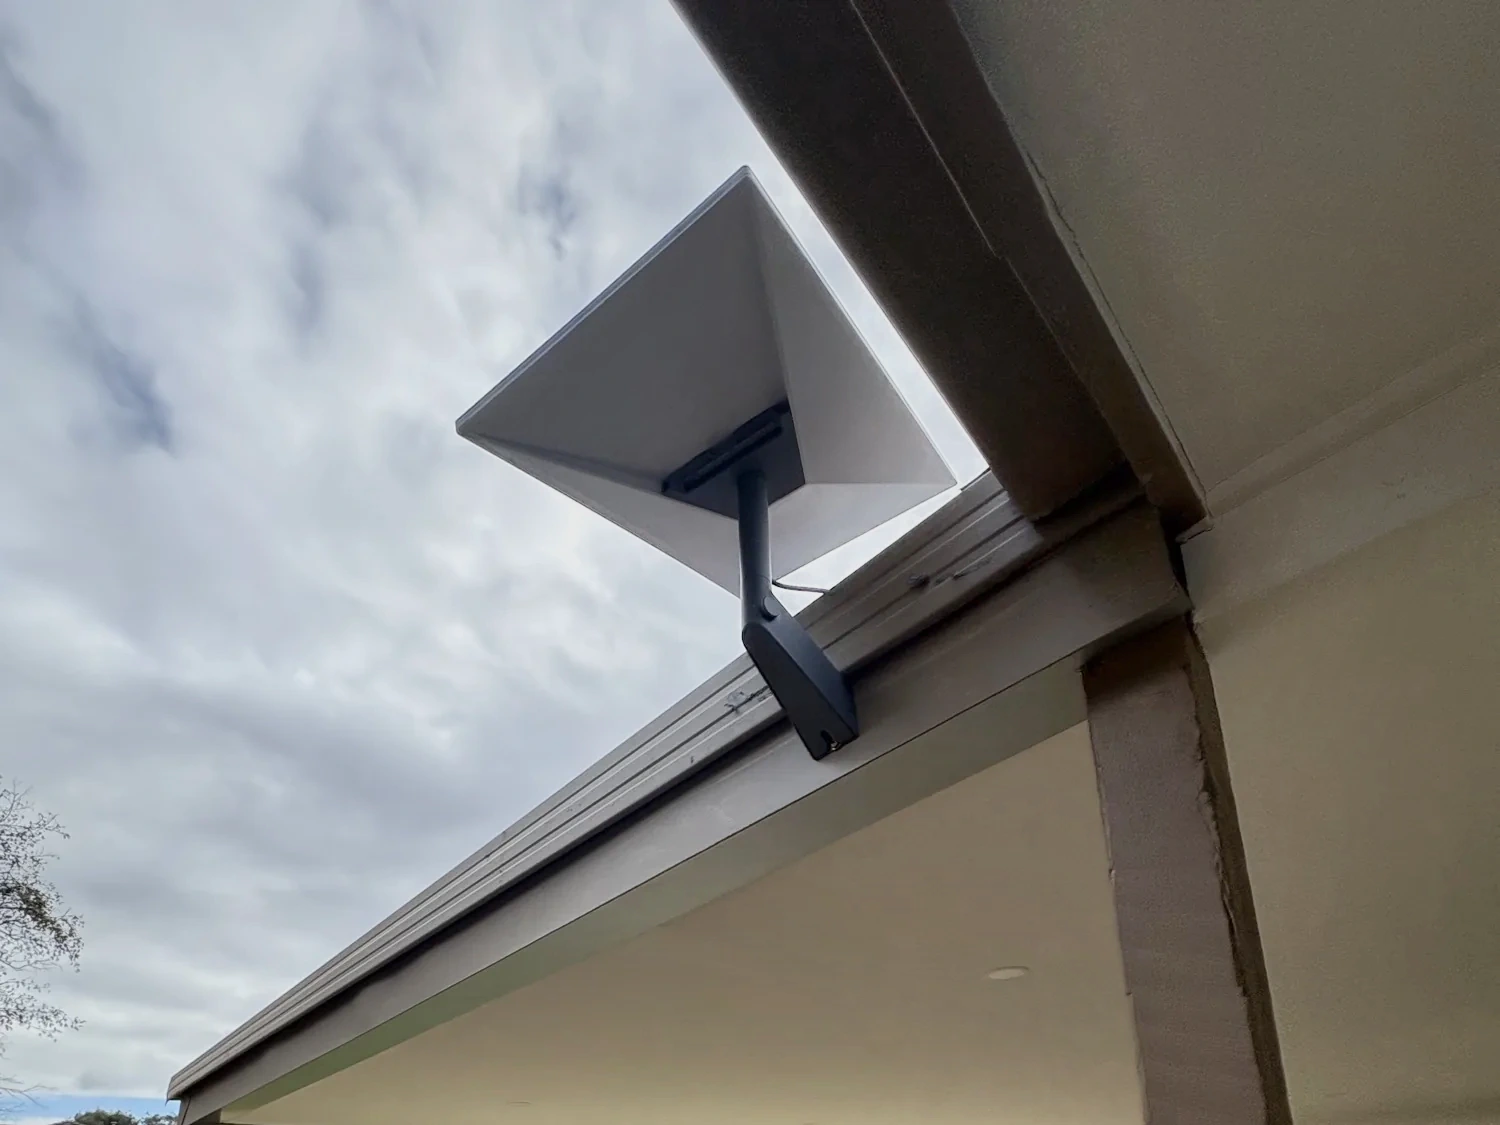
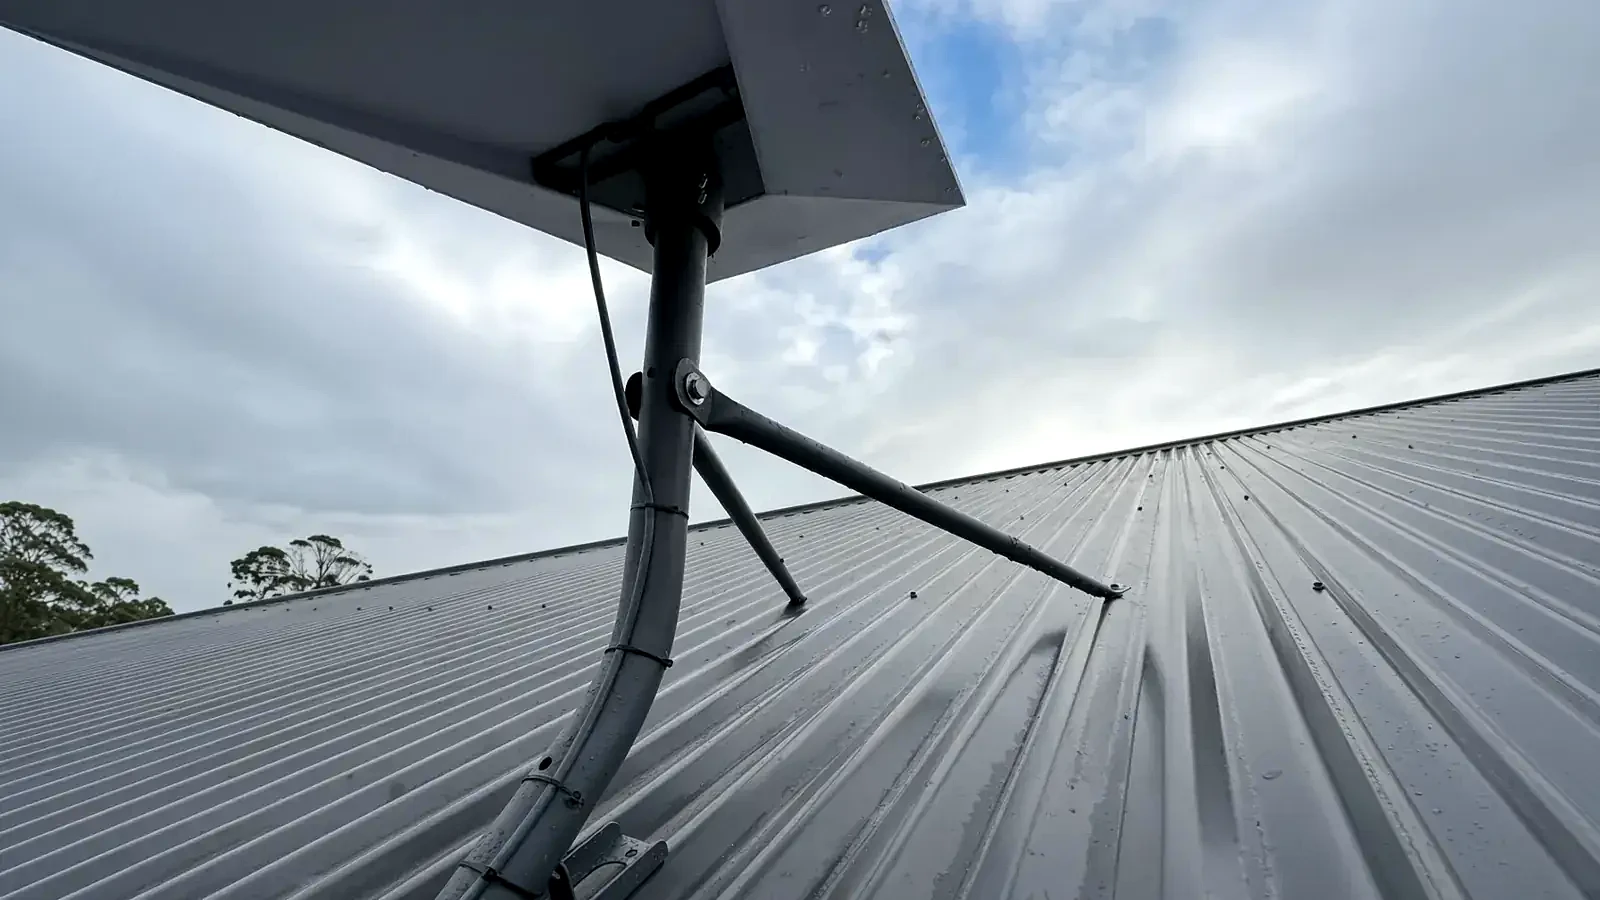
Somerville, on the Peninsula, used an Astrogear tripod so the dish had a clear view of the sky without drilling the roof. Safety Beach used the same idea on a flat roof with concealed gutters. Cranbourne West used a tripod on a double-storey corrugated metal (Colorbond-style) roof.
When a tripod is the right mount
On Colorbond and flat roofs, a tripod is tied down to the existing roof screws, so there are no new holes. Tile roofs get an under-tile mount instead. Either way, the cable still needs strain relief and a neat cable entry.
Questions
- Do you always use a tripod?
- No. Tile roofs get an under-tile mount, Colorbond roofs get a tripod, and some homes suit a fascia or wall mount.