
DIY versus installed
Common DIY problems, and what we do instead
Typical DIY pain
- A hole drilled through the tile
- Router in a closed cabinet that cooks in summer
- Cable flapping on Colorbond
- Tripod sitting on tiles with no ballast plan
What we actually do
- The right mount for the roof: under-tile mount on tile, tripod on Colorbond
- One neat cable entry and a tidy cable route
- Router on the backing wall, near power
- A walk-through so you know how to switch it off safely
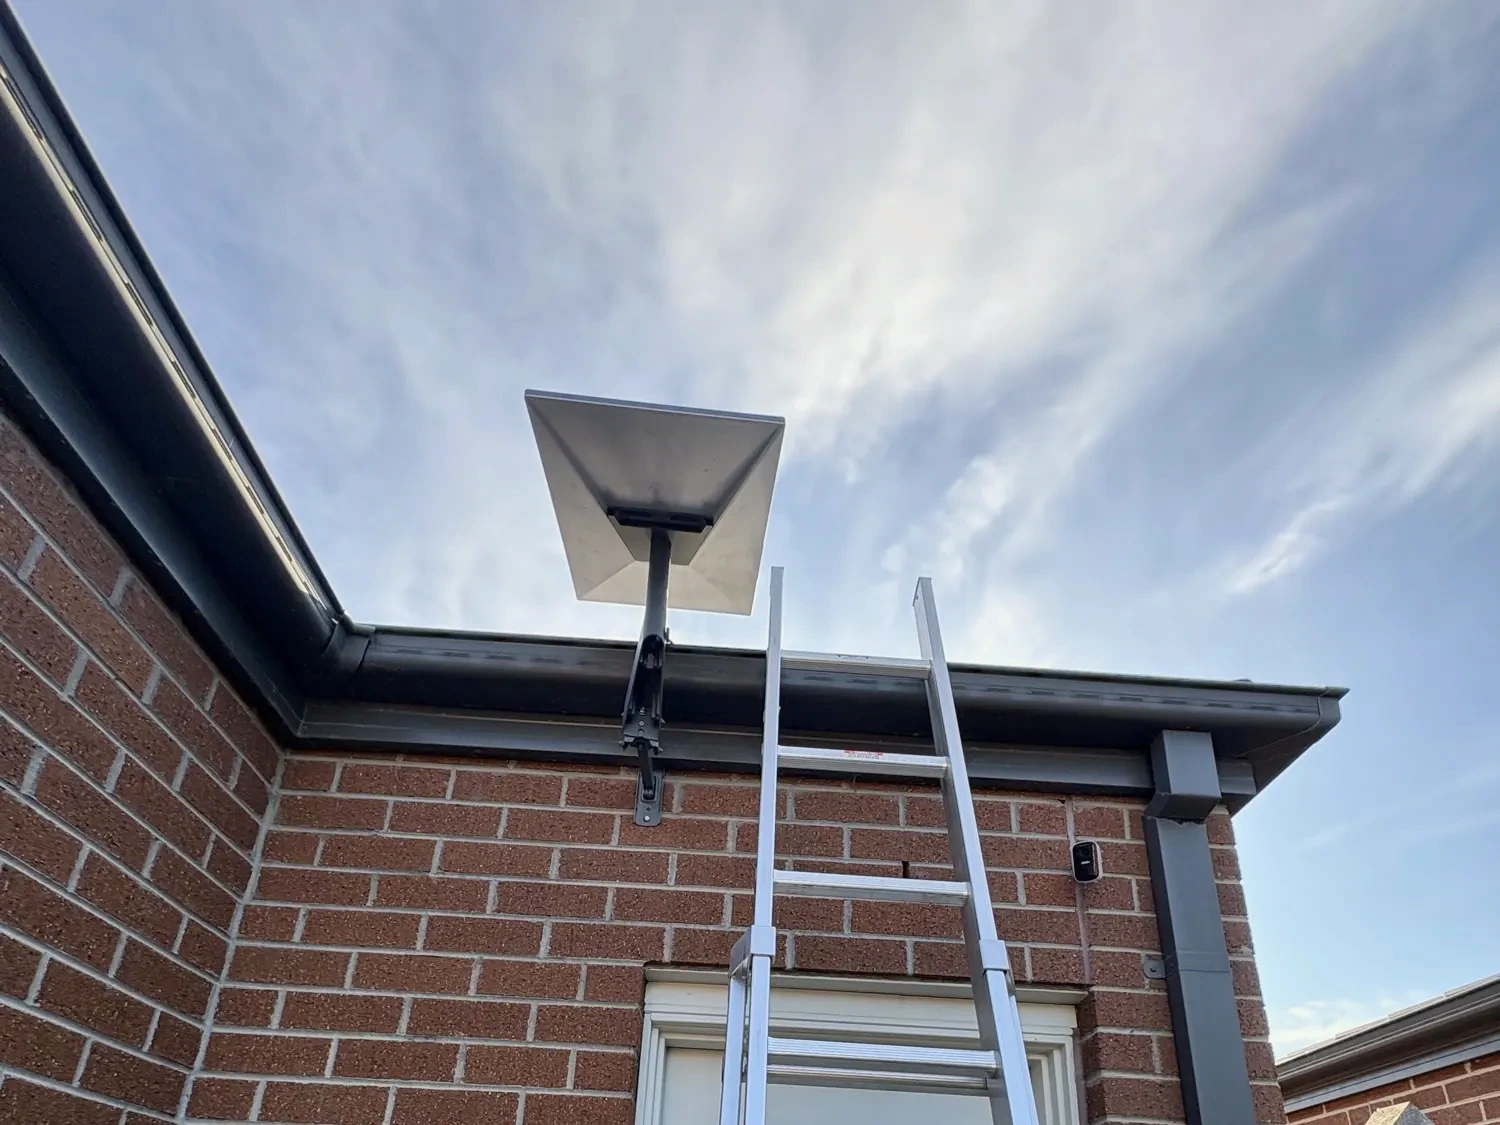

What we keep seeing
A hole through a tile with silicone from the hardware aisle. Cable draped to a window and crushed in the sash. Router in a closed AV cabinet with no ventilation. Strain relief missing, so the first northerly leans on the connector.
The standard finish
On brick veneer the cable goes in under the tiles at the eave, down the wall cavity between the brick and the stud wall, past the noggin, to a wall plate on the plaster side. That is included. We don't run it through internal walls. If the cavity can't be used, it runs on the outside wall, held with Starlink cable clips, or in conduit, for $99. A rental can use an existing cabinet, such as the Hills Home Hub used at Lyndhurst, when that is the right place for the router.