
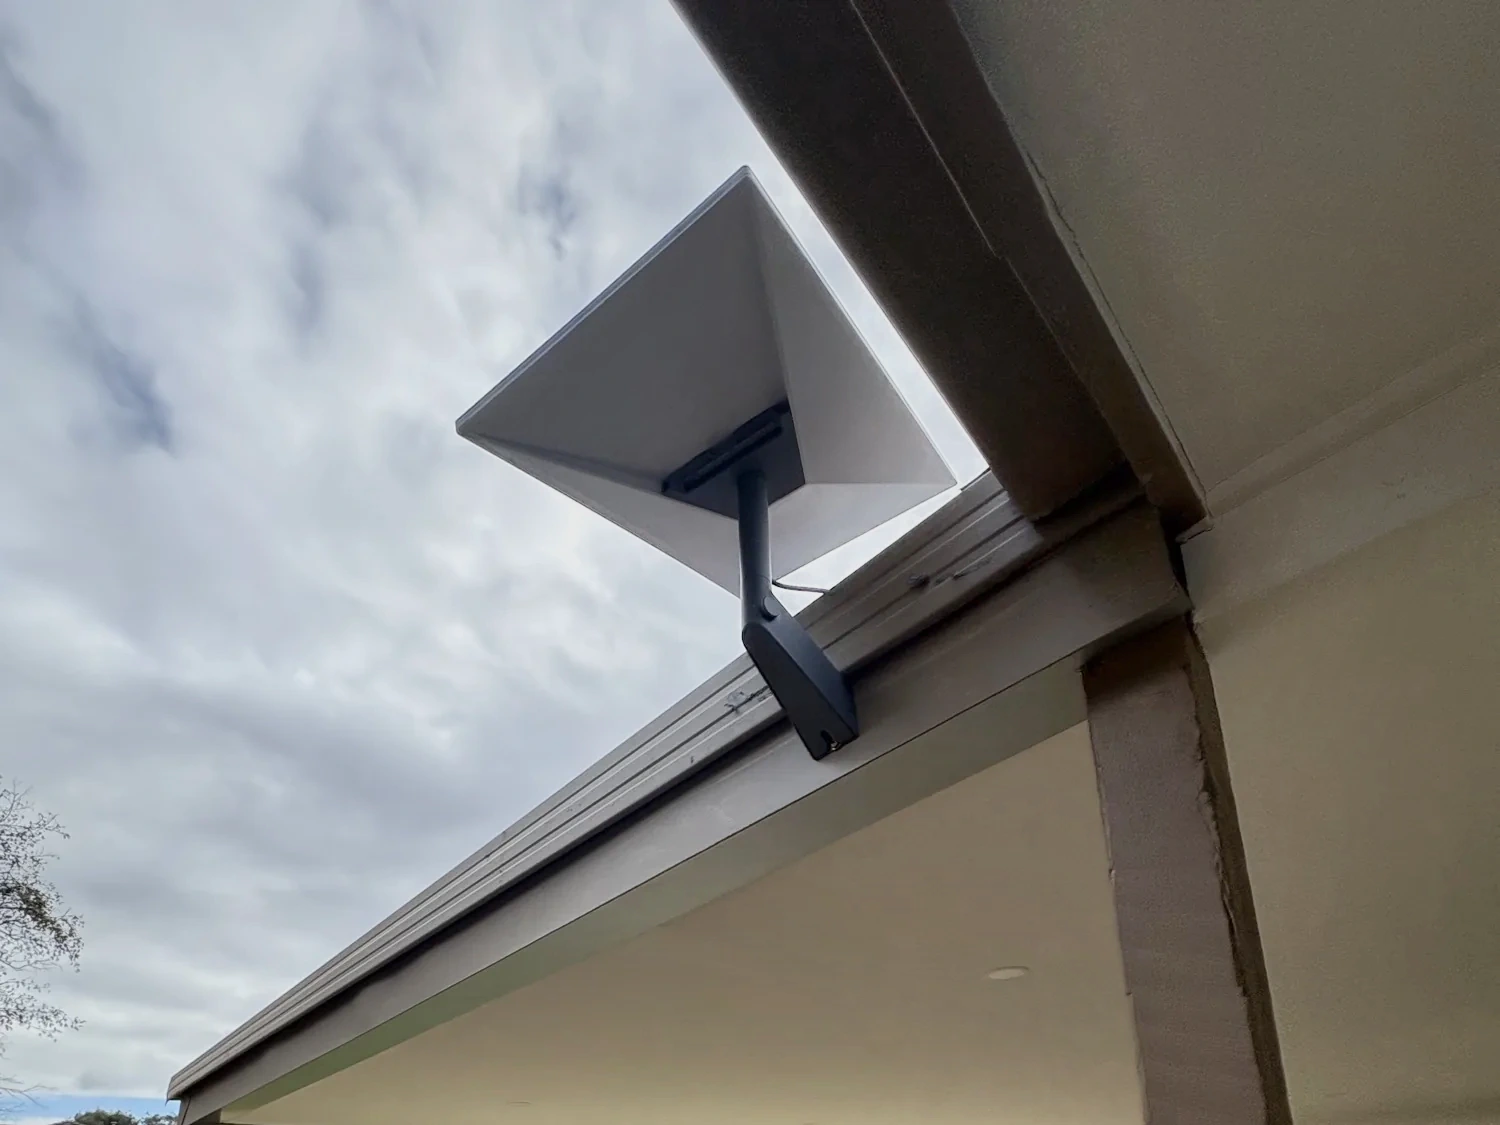
What the install covers
- A mount that suits your roof
- On brick veneer, the cable in the wall cavity to a wall plate on the plaster side
- The router near a power point at that wall plate
Extras
On cladded, rendered foam or Hebel walls with no gap, the noggins are drilled through. That is $150 extra. If the cavity can't be used, the cable runs on the outside wall, held with Starlink cable clips, or in conduit, for $99. We don't run the cable through internal walls. Router placement in a garage or data cabinet is $150. Double-storey adds $250. Saturday bookings are agreed when you book. Extras apply to direct bookings only, and only when you agree first.
Questions
- Where does the cable go?
- On brick veneer it goes in under the tiles at the eave, down the wall cavity between the brick and the stud wall, past the noggin, to a wall plate on the plaster side. That is included. We don't run it through internal walls.